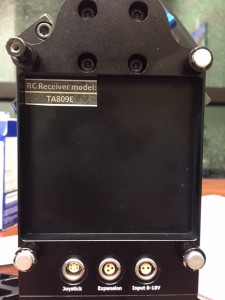
This article applies only to Helixes with the Spektrum satellite receiver (installed starting in November 2015). If you have the AR6100e RC receiver (installed in Helixes prior to November 2015), you should refer to the article for that receiver. Note that all Helixes with the satellite receiver should have a sticker in the battery compartment as shown at right.
- Start the SimpleBGC GUI and connect to the Helix via Bluetooth or USB cable.
- Go to the RC tab
- Select the profile you want to use for RC communication.
- Change the RC_Roll pin mode dropdown box to say Spektrum (DSM2/DSMX).
- Assign the proper input mapping of channels to the Roll, Pitch and Yaw (Roll, Tilt, Pan) axes. Letus recommends that you use RC virtual channel 4 for roll, RC virtual channel 3 for Pitch (Tilt), and RC virtual channel 2 for Yaw (Pan).
- Select RC virtual channel 6 for the CMD option. Get the antenna of the RC remote controller very close to the right side of the controller box (when binding, the signal works in significantly shorter distance than during operation)
- Set Spektrum data and bind mode to Auto-detection (default). You may have to scroll down in the RC tab to see this option.
- Go to the Board menu option (very top of the screen). Select Execute action. Select Bind RC receiver when you are ready to do the next step (the next step must follow this step very quickly).
- Hold the antenna of the Spektrum RC radio transmitter next to and slightly above the on/off switch of the Helix. On the Spektrum transmitter, press and hold the bind/train button BEFORE, DURING AND AFTER switching on the power to the RC radio transmitter. Hold the bind button for at least ten seconds after turning on the radio.
- You should now be able to use the controller
- If the camera drifts left or right or if it rolls when the transmitter sticks are in their neutral position, use the trim buttons on the remote controller to trim the drifting until it stops.
- Occasionally there is still a very slow drift on the Helix even after this trimming process, and you may need to use the RC sub-trim section of the RC tab in the GUI to adjust the trim. Simply leave the transmitter’s sticks in the neutral position, press the AUTO button in the RC sub-trim section, and then hit the WRITE button to save these settings to the Helix.
NOTE: Any DSM2 or DSMX Radio will work
